• Discover professional techniques for Versetta Stone siding installation to achieve exceptional results.
• Learn the importance of proper preparation, tools, and methods for a seamless Versetta Stone application.
• Understand why opting for professional installation guarantees longevity and aesthetic appeal for your property.
Identifying Issues Before Installation
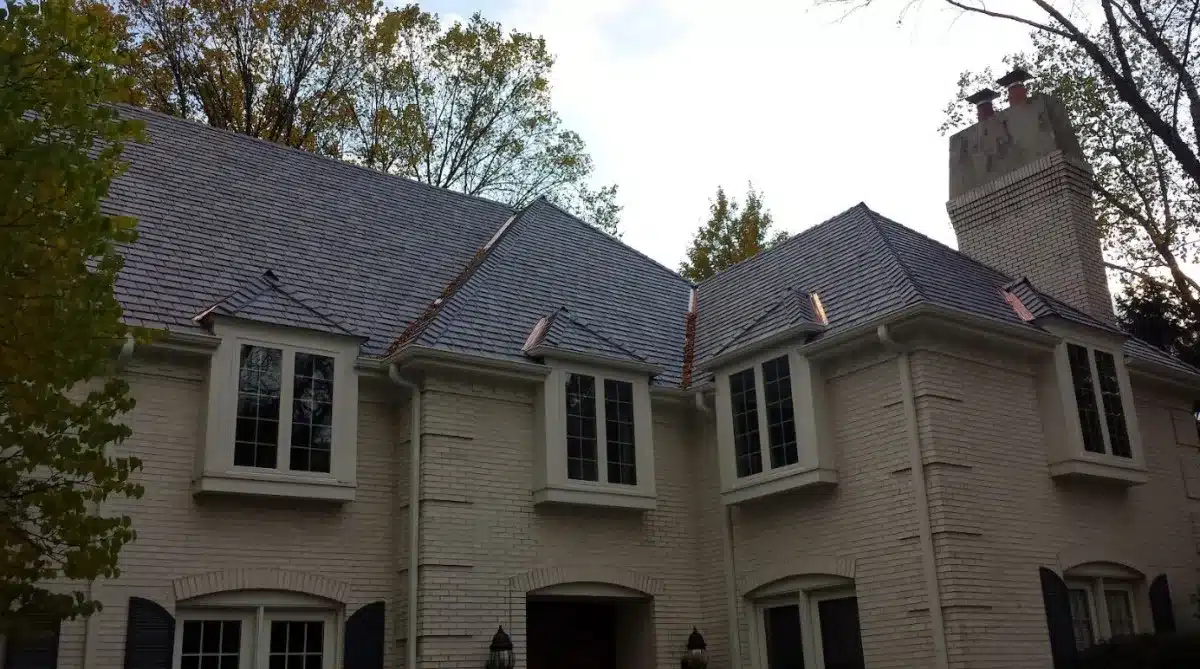
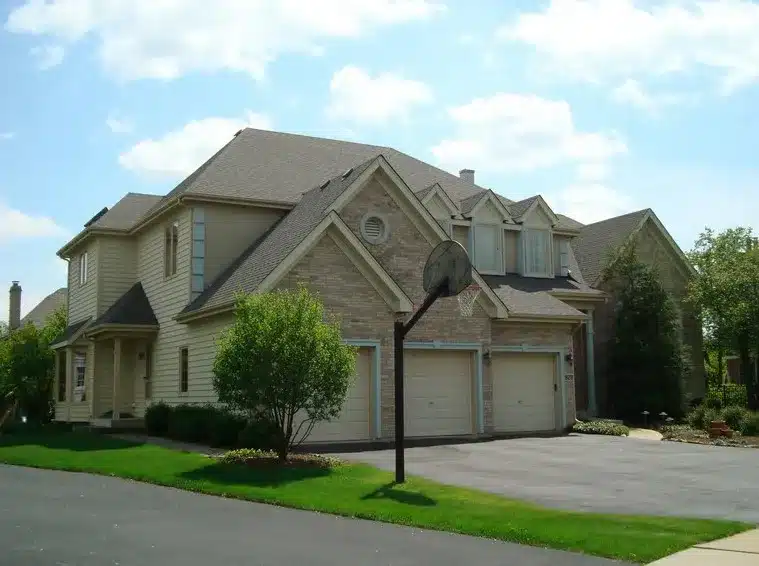
When considering a fresh facade for your home, it’s crucial to see beyond the surface before embarking on the versetta stone siding installation process. Imperfections in your home’s existing exterior, like uneven surfaces or hidden moisture issues, may sabotage your renovation plans. It’s essential to conduct a thorough examination for signs of damage, such as cracks or rot, which could indicate more extensive issues. Addressing these concerns early on maximizes the longevity and aesthetic of your new siding.
Environmental factors, particular to Glenview, IL, can play a significant role in preparation for siding installation. As Springtime moisture and fluctuating temperatures can cause materials to expand and contract, proper assessment of the wall’s condition becomes even more important. Look for any discoloration or mold, signs that may point towards water infiltration issues. Ensuring a dry and stable base is pivotal for a secure installation that withstands the elements.
Furthermore, previous siding jobs on your property might have left behind problematic artifacts. Old nails, staples, or adhesives can create a less than ideal canvas for your new Versetta stone siding. A meticulous cleanup of the work area lays the groundwork for an installation free from future complications. Only when you have a clean, stable, and prepared surface can the true transformation begin, allowing your home to embody the elegance and durability that Versetta stone siding offers.
Collecting the Essentials for Installation
Before the installation dance begins, it’s imperative to gather all your partners – the tools and materials that will make the versetta stone siding not just a possibility, but a success. You’ll require a variety of implements like a trusty hammer, a precise level, a sturdy saw, and reliable fasteners and adhesive to secure the aesthetic charm of the stone. Each item plays a pivotal role in ensuring the siding fits like a glove, providing an impenetrable shield against the whims of Mother Nature. Remember, a well-prepared toolbox is the unsung hero of any successful installation.
Securing your homes’ armor begins with the meticulous preparation of the work area. Sweep away any remnants of the past; debris, dust, and old cladding are unsuitable bedfellows for your new siding. This cleansing ritual ensures a pristine surface for the solid embrace of Versetta stone panels, aligning beauty with resilience. And for those keen to delve deeper into the wonders of home exteriors, explore the vast offerings in siding solutions that cater to every architectural desire.
Step 1: Understand Versetta Stone Siding
Research the unique qualities and advantages of Versetta stone siding to appreciate why it’s a popular choice for homeowners. Familiarize yourself with its durability, aesthetic appeal, and maintenance requirements.
Step 2: Tools and Materials Needed
List all the necessary tools and materials required for the installation process, including Versetta stone panels, a hammer, level, saw, fasteners, and adhesive.
Step 3: Preparation of the Work Area
Prepare the installation area by cleaning the surface and ensuring a flat and stable base for the siding. Remove any debris, dust, or existing cladding that may hinder the installation.
Step 4: Setting Up the Starter Strip
Install the starter strip at the base of the wall, ensuring it is level and securely attached. This will serve as a guide and support for the first row of Versetta stone panels.
Step 5: Installing the First Row of Panels
Begin the installation by placing the first row of Versetta stone siding panels onto the starter strip. Check for level and make adjustments as necessary to ensure a straight and professional-looking base for subsequent layers.
Step 6: Adding Additional Rows
Continue stacking and fastening Versetta stone panels from the bottom up, staggering the joints for a natural look. Use a saw to cut the panels to fit around any obstacles, such as windows or doors.
Step 7: Securing the Panels
Ensure each Versetta stone panel is securely affixed to the surface following manufacturer guidelines, which typically include screws or nails driven through the panel’s embedded metal strip into the wall framing or sheathing.
Step 8: Finishing Touches
Finish the installation by checking all panels for stability and adding any necessary sealant or adhesive where panels meet trim or other siding. Inspect the entire installation for any gaps or irregularities that need to be addressed.
Avoiding Common Mistakes in Stone Siding Installation
While Versetta stone siding adds beauty and value to your home, common missteps can turn a DIY project from dream to disaster. Understanding what not to do is just as important as the installation guide itself, helping you dodge unnecessary complications. Here are some practical pitfalls to avoid, ensuring your siding installation goes as smoothly as the surface you’re preparing to adorn.
Mistake 1: Neglecting Surface Preparation
Failing to properly clean and prep the work area can lead to poor adhesion and potential siding failure. Always remove old materials and smooth out any irregularities to ensure a flat base.
Mistake 2: Inaccurate Measurement and Leveling
An uneven starter strip sets the stage for a crooked exterior. Use a level every time you secure a strip or place a panel, maintaining uniformity from bottom to top.
Mistake 3: Improper Tool Usage
Using the wrong tools not only makes the job harder but can damage the materials. Keep to the recommended list, ensuring each tool is in good working order and used as intended.
Mistake 4: Overlooking Manufacturer Instructions
Each siding product may have its own specific installation requirements. Overlooking these can void warranties or lead to an improper install, so always review and follow the manufacturer’s guidelines.
Laying the Foundation with the Starter Strip
As the first act in your siding symphony, the installation of the starter strip sets the stage for a straight and successful application. This foundational piece acts as a reliable ledger, a true north for the rows of Versetta stone panels that will cascade above. It’s an act of precision, ensuring that your home’s new exterior will stand strong and proud against the changing seasons of Glenview, IL.
Mounting the First Row of Stone Siding
With the stage set, the first row of Versetta stone panels must be placed with both care and confidence. Each panel should nestle on the starter strip, checked and adjusted to achieve a perfectly level line, promising a seamless facade. This initial row is crucial, as it paves the path for every stone that follows, ensuring a harmonious alignment that speaks to the craftsmanship of your work.